Build Virtual Science Experiments with Narration in CapCut PC
Have you ever wished that science experiments were shown in a way that is both fascinating and informative simultaneously? Most students learn better when lessons are shown in video form.
Adding narration breaks down each step into something comprehensible and connects the ideas to real science concepts. With devices such as the CapCut PC, students and educators can create these narrated experiment videos without cumbersome machinery.
The narrator describes what the observer is seeing, enabling them to understand the process and recall it. This is particularly helpful for experiments that have numerous steps or require precise timing.
Although CapCut PC has a variety of features free of charge, some of the more advanced ones will be paid for so that their strengths can be best displayed.
Narration for Virtual Science Experiments
Why Narration is Important
Narration takes you through a science experiment stage by stage so that you can see what you do at each stage. It tells you why you are doing each stage so that it is easier to know and recall.
Some of the ideas in science are difficult to explain using pictures alone, but a gentle voice can do it. By utilizing an AI voice generator, you can provide clear and immersive audio without using your voice, ensuring students stay on track and attentive.
Advantages of AI Text-to-Speech Narration
AI text-to-speech converts script text to natural voices. It is perfect for busy teachers and ensures narration stays the same in tone and style for all lessons.
Save Time and Stay Consistent
Once your script is ready, narration can be developed in minutes for scores of videos. This consolidates all lessons with the same tone and quality and provides students with a predictable and consistent learning experience.
Why Use CapCut PC to Add Narration to Science Experiment Videos
High-Quality Narration Without Studio Recording
With CapCut PC, it is easy to hear your voice and sound professional. The AI voices are natural-sounding and clear, so your lessons sound like they were recorded in a recording studio.
That means no expensive equipment or soundproof room needed. It helps you focus on teaching while still creating polished-looking and enjoyable videos.
Multiple Languages and Voice Styles
CapCut PC allows you to select from a series of voices and languages. You could use this if you want to speak to learners of different subjects or backgrounds.
You are able to allocate tone of voice to suit your lesson theme, for example, formal for examinations, informal for kids, or motivational for experiments which arouse curiosity.
Easy Integration with Experiment Video
Your voiceover can be put in spot-on sync with every step of your science experiment. You can time it so the voice comes synchronized with what is being done on screen.
You can also upsize the video using such tools as an AI video upscaler, with video quality looking after the video quality comes in line with audio quality for an all-around learning experience.
Not Fully Free – Important Note
CapCut PC provides a lot of free options, but you do have some to pay for. These are a few of the paid voices and exporting in high quality. Knowing these charges will assist you with planning your lessons and saving. Even when you do pay, quality and efficiency are worth the expense.
Steps to Make Virtual Science Experiment Videos with Captions in CapCut PC
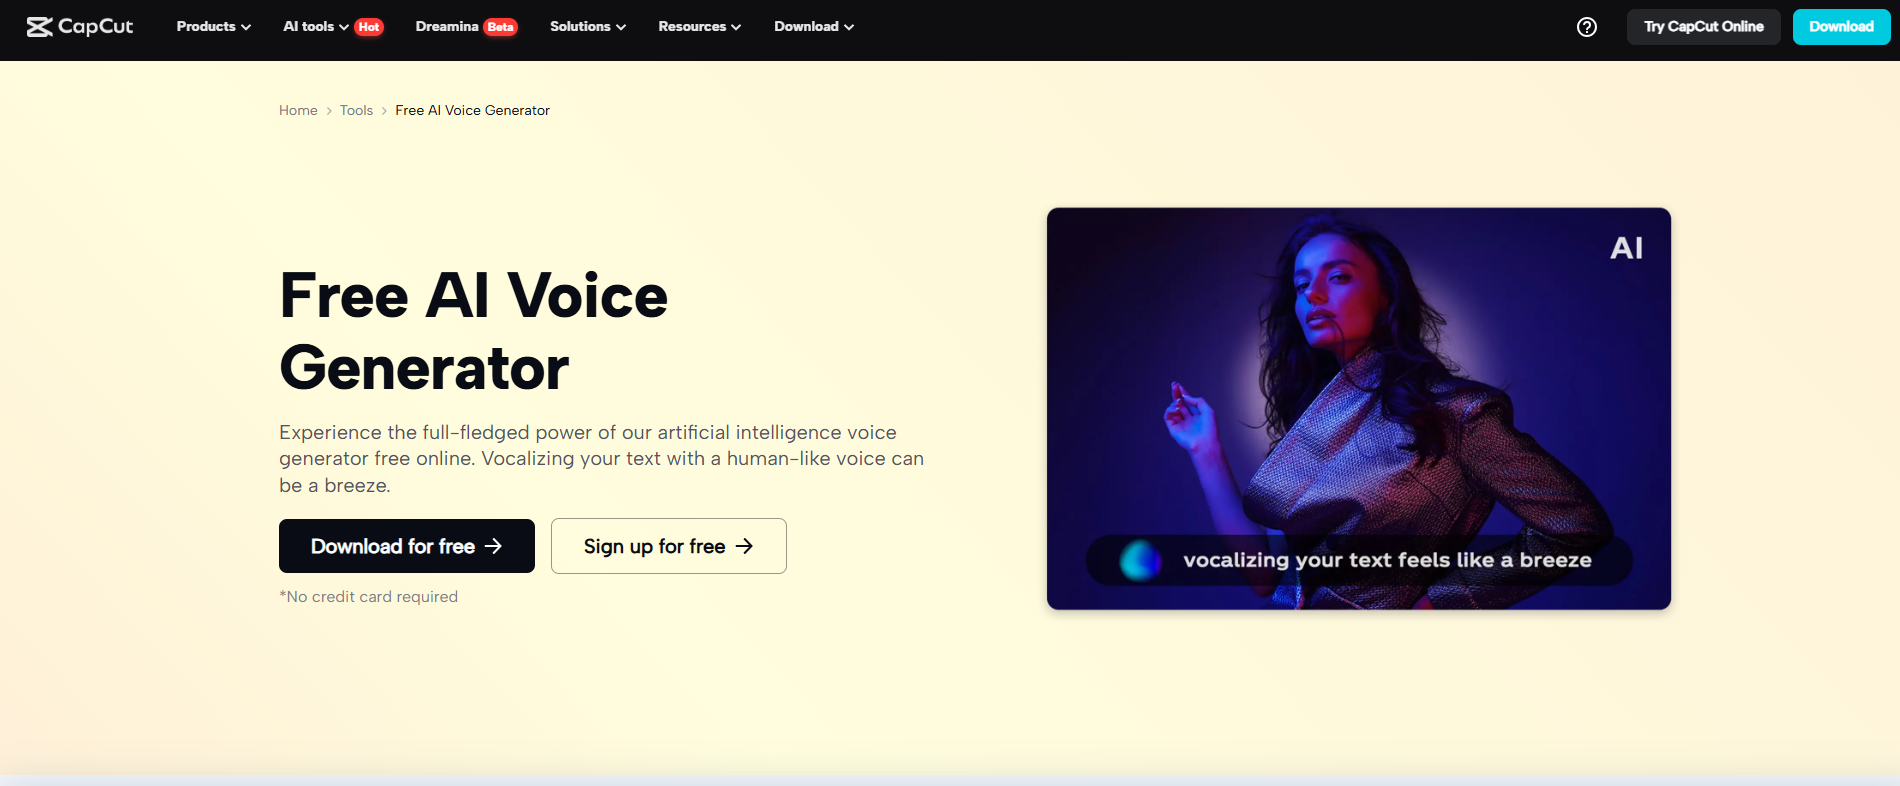
Step 1: Download CapCut Desktop Video Editor on PC
Visit the official website of CapCut to download CapCut PC. Download and run the installer to install after following the screen prompts. Log in to your account to activate the available features.
Make sure your computer meets the minimum system requirements to install and run the software smoothly. Downloading from the official website ensures you receive the latest and most secure version.
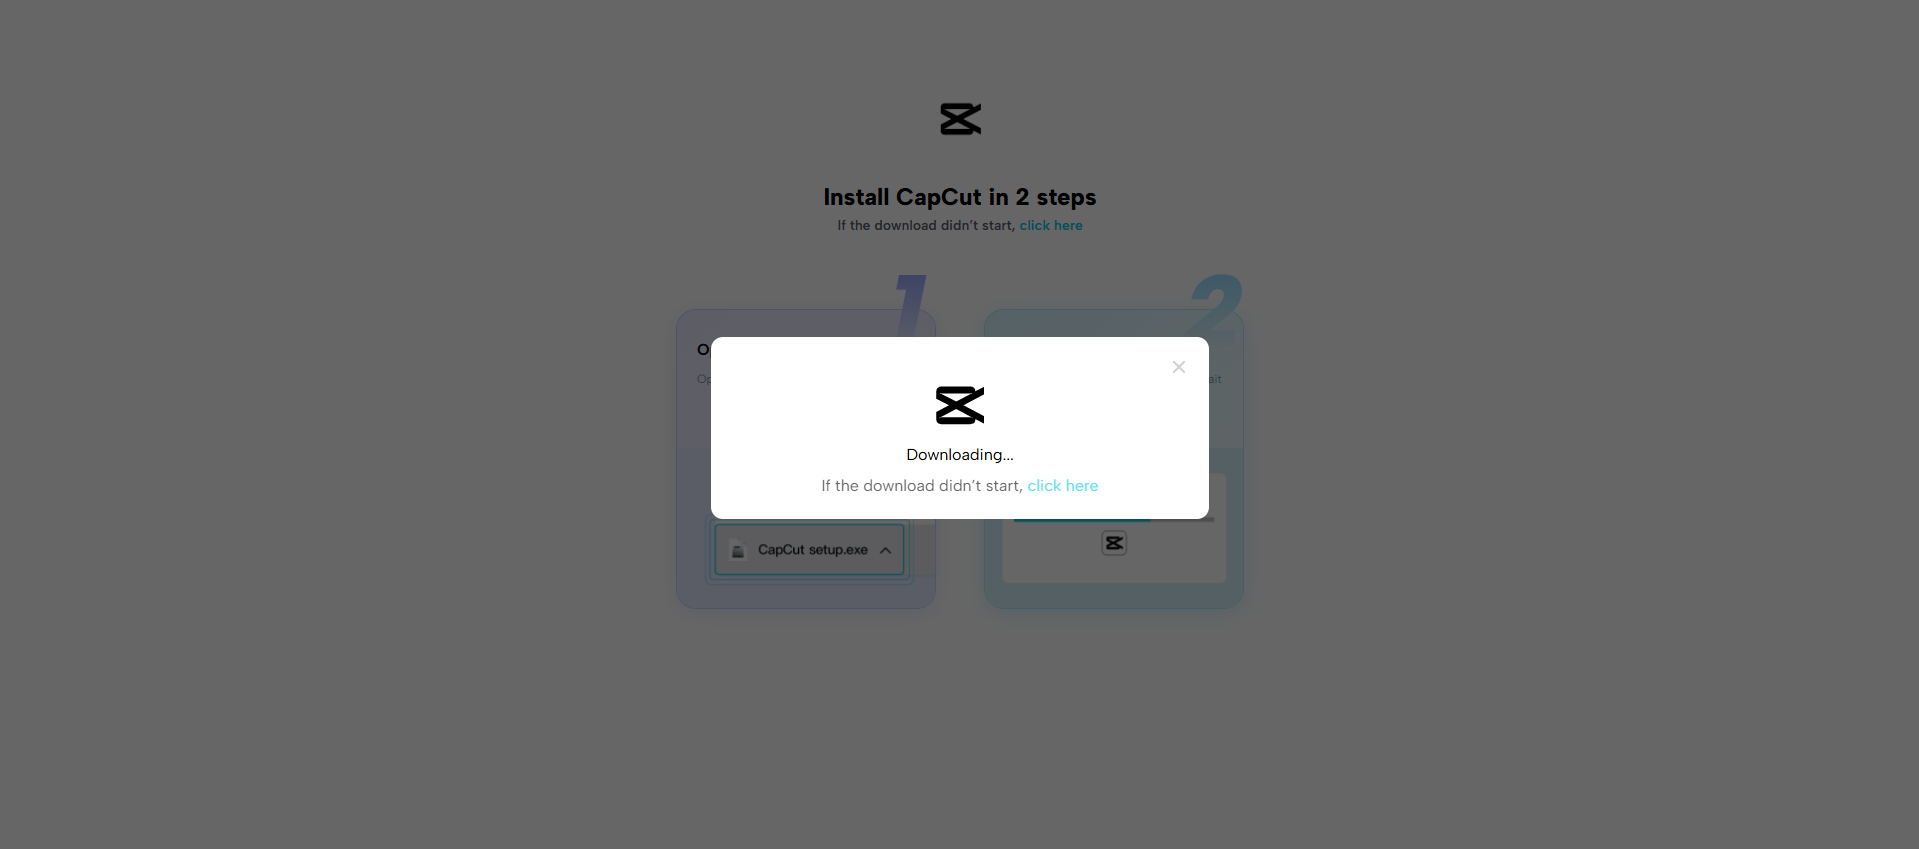
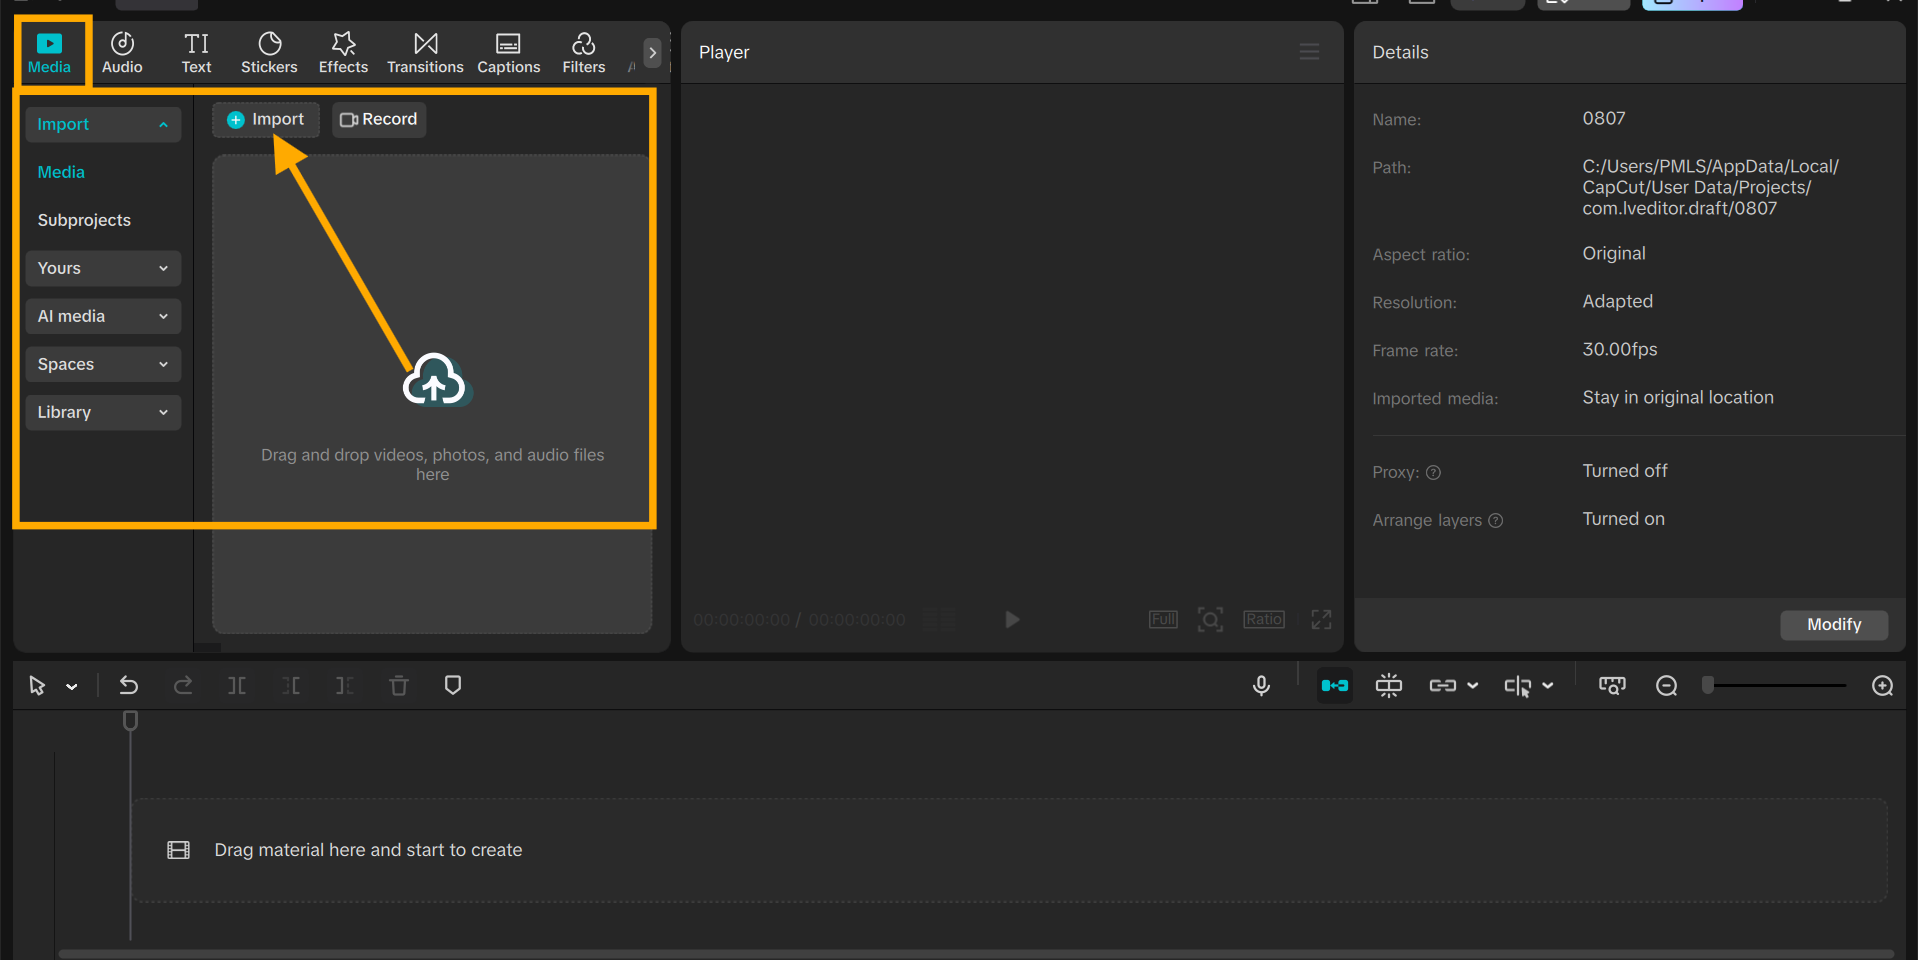
Step 2: Import Experiment Footage
Click on the “Import” button on the main dashboard to load your science experiment animations or clips. Insert them on the video timeline in sequence. Have the same style for all of your videos so that students have a seamless and uniform viewing experience.
Step 3: Insert Narration Using AI Text-to-Speech
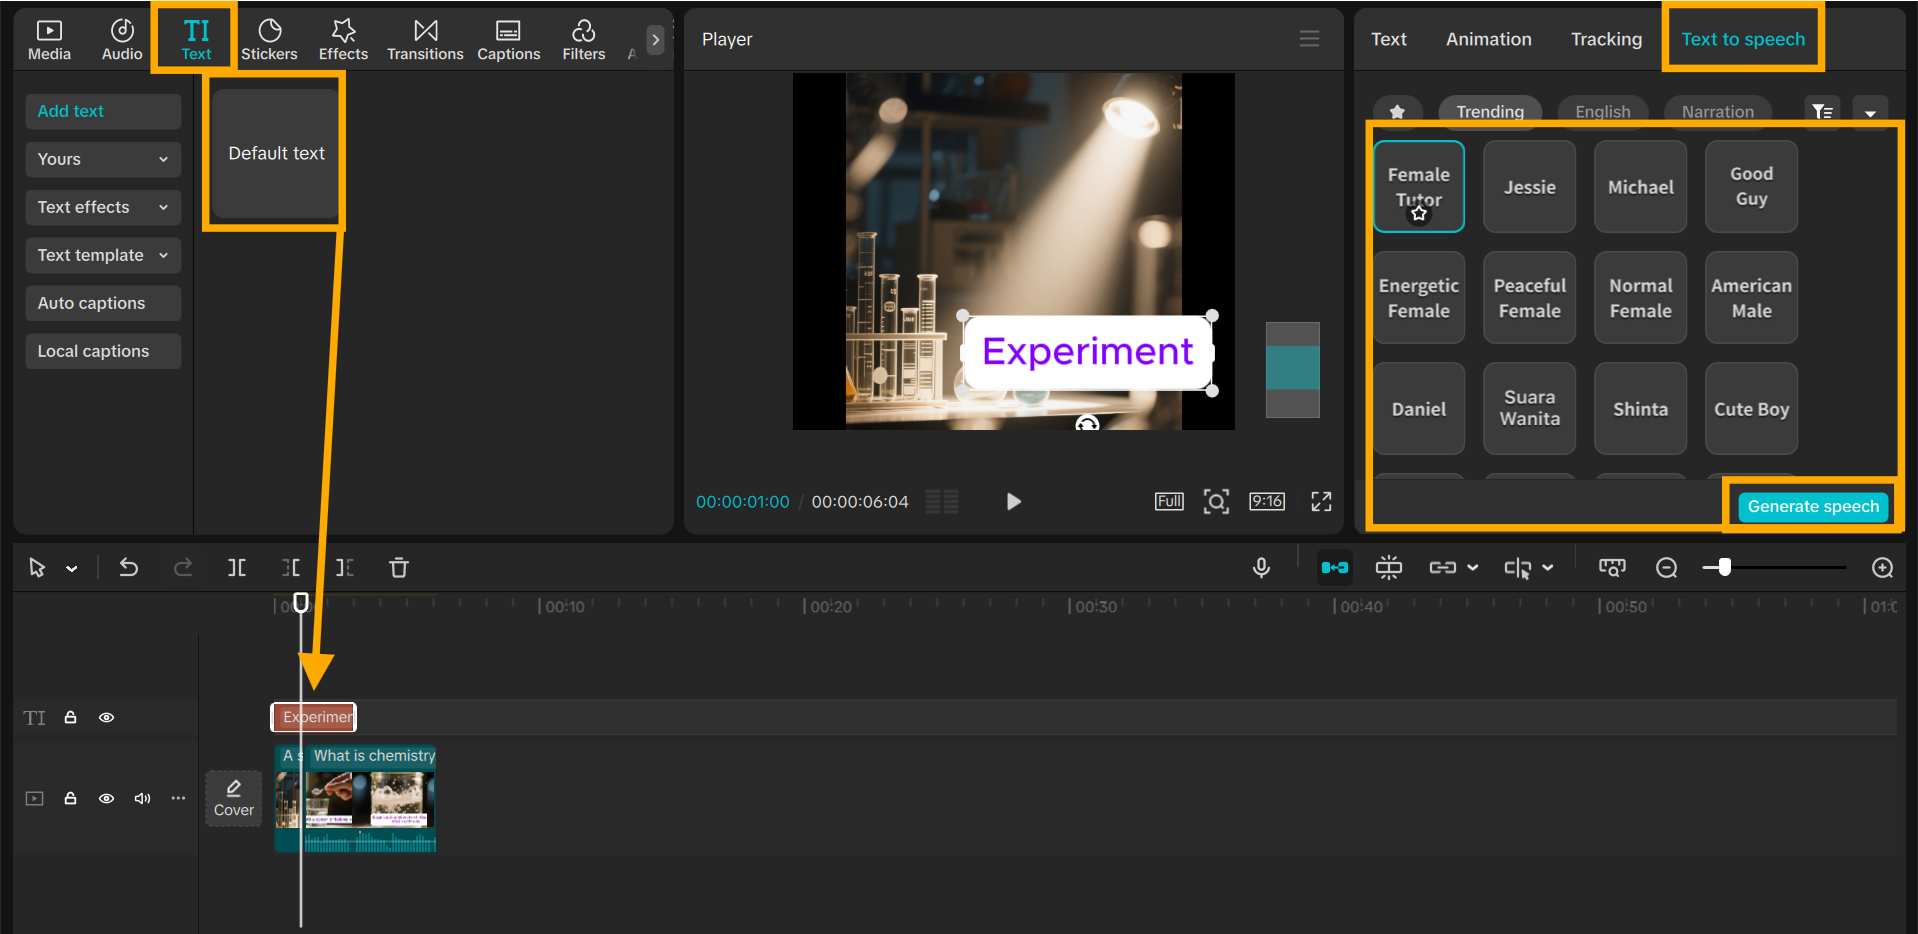
Select the point in your video timeline where you want the narration to start. Insert a text box and pop open the text settings panel on the right side.
Click the “Text-to-Speech” tab to view the available voice options. Choose your desired tone, voice style, and language. Click “Generate Speech” to turn your script into audio.
Using text to speech AI ensures that the sound quality is the same for all lessons and eliminates the necessity of re-recording your voice every time. This is a trustworthy method to ensure uniform teaching tone in all science experiment videos.
Step 4: Sync Narration with Experiment Steps
Play the video and confirm that the narration keeps pace with the experiment steps. Drag the audio clip left or right to align it with the visuals. Reduce the tempo so that each explanation is understood before proceeding to the next step.
Step 5: Export and Share
Click on “Export” at the top right. Select your video resolution and other preferences. Save files on the device and share them on school networks, email, or social media.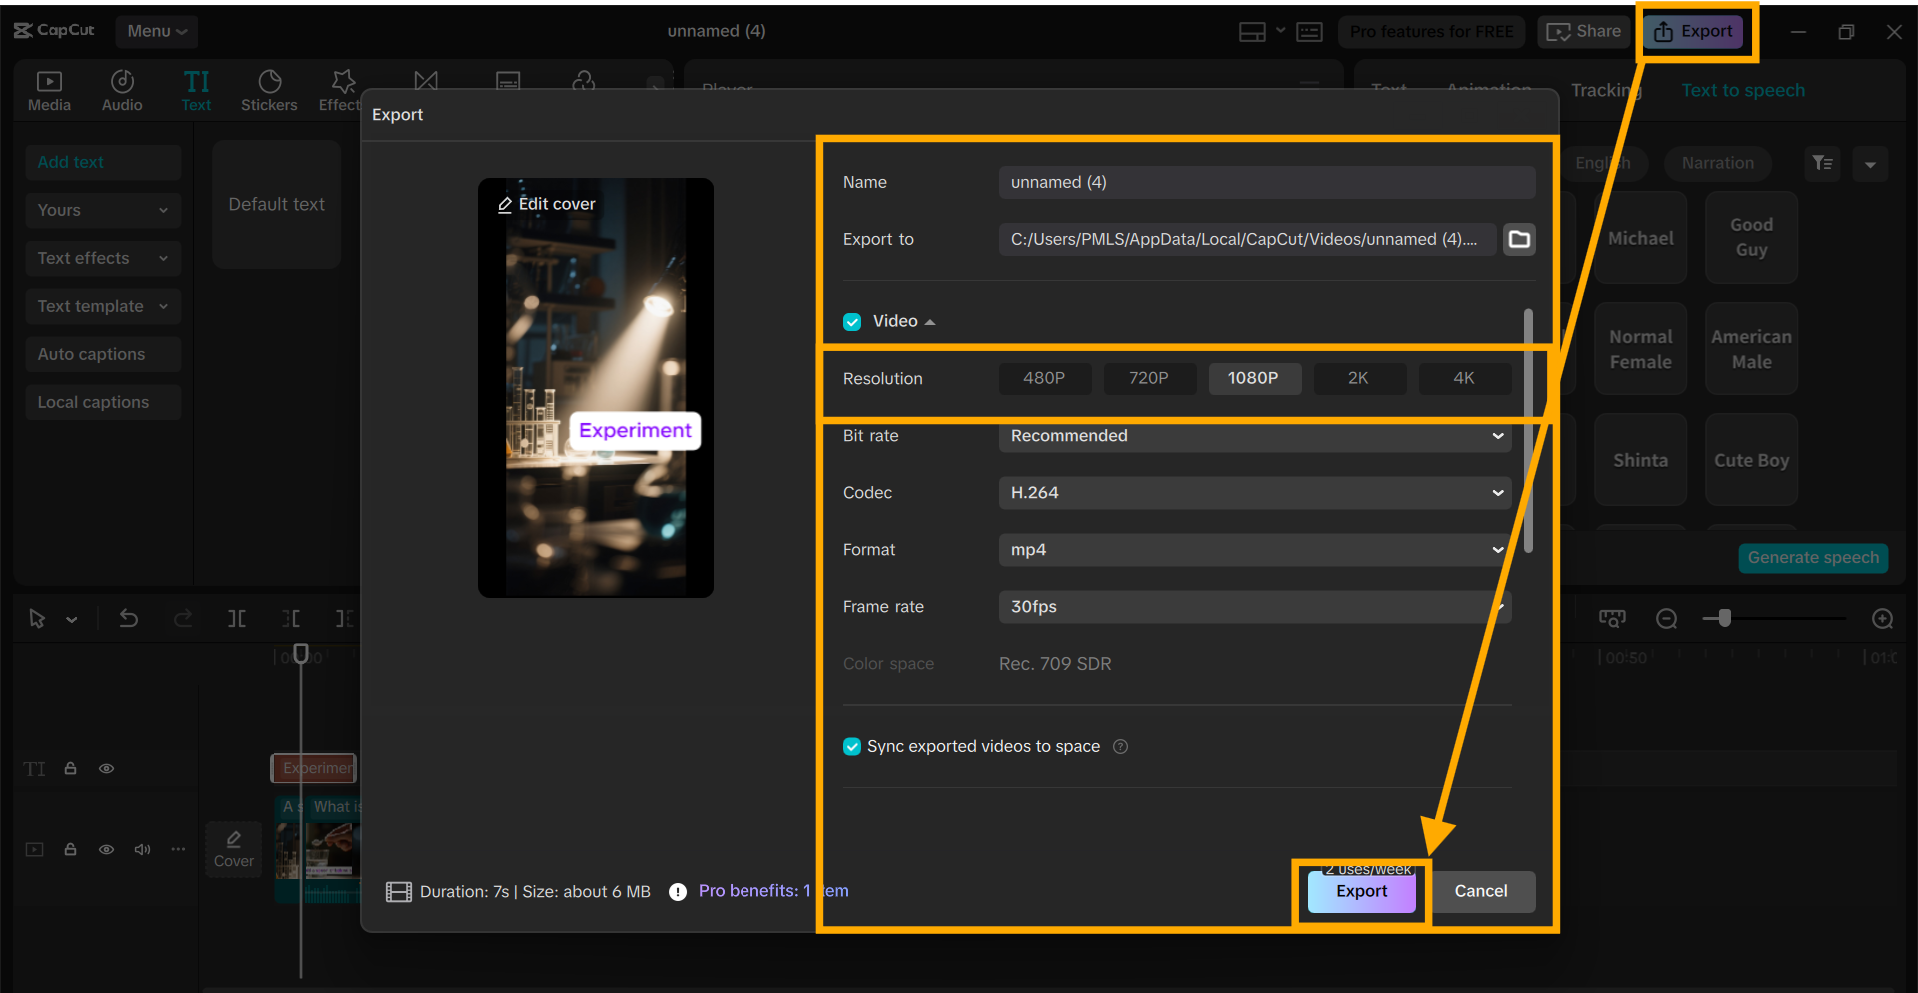
Conclusion
Narration makes online science experiments easy to understand and provides understandable instructions. With the CapCut video editor for the PC or computer, teachers can create quality videos with easy-to-use equipment.
Some features require payment, but the outcome is worth it. Begin today and make all science lessons easy to comprehend.