Common Mistakes to Avoid When Using 3D Printing Services

Disappointments often occur when a 3D-printed part does not meet expectations, despite initial excitement. These issues typically arise from common user mistakes. This guide highlights these errors, particularly in the context of advancing 3D printing services in Australia. Understanding these challenges can help users save time, money, and effort, resulting in more successful prints.
Understanding the Basics of 3D Printing Services
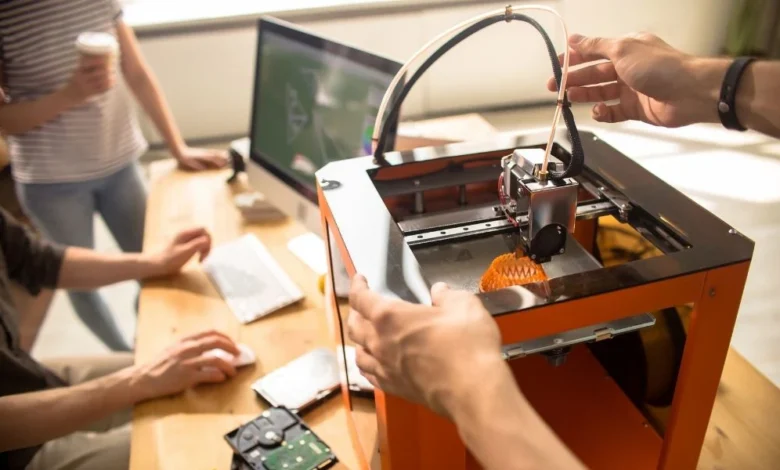
3D printing services convert digital designs into physical objects using specialised printers. These services support applications ranging from prototyping gadgets to producing custom parts. User-provided files play a critical role; flawed inputs limit the ability of even advanced services to deliver optimal results. Eagerness for quick outcomes often leads users to overlook foundational steps, but thorough preparation ensures smoother processes.
Why Preparation Matters
Preparation is essential, akin to verifying a recipe before baking. Accurate files in formats like STL or OBJ are required by services, particularly in Australia. Beginners benefit from learning these formats to prevent initial errors.
Mistake 1: Ignoring Material Guidelines
A common error involves disregarding material specifications. Options such as PLA, ABS, or nylon each possess unique properties and limitations. To avoid this, consult the service’s material documentation before finalising designs. Evaluate whether the material meets requirements for factors like temperature resistance or durability. Detailed guides from services provide valuable insights.
Choosing the Right Material for Your Project
Weather-resistant materials are recommended for outdoor items, particularly in light of Australia’s diverse climate. Research material performance in heat or humidity. Contacting the service for clarification prevents costly regrets.
Mistake 2: Designing with Inadequate Wall Thickness
Insufficient wall thickness poses challenges, as thin walls may lead to production failures or fragile parts. Services specify minimum thicknesses based on technology, such as 1mm for FDM or finer for SLA. Many users experience issues from overlooking these guidelines. Measure and adjust thicknesses using design software during the early stages.
Balancing Strength and Cost
Optimal designs strike a balance between strength and material efficiency, as well as cost. Digital testing in software like Fusion 360 simulates stresses to identify weaknesses, promoting efficient outcomes.
Mistake 3: Using Low-Resolution Files
Low-resolution files, such as poorly exported STLs, produce rough or inaccurate prints. Services cannot enhance deficient files. Rushed exports without optimised settings cause this problem. Increase triangle counts in modelling software to improve resolution, accepting larger file sizes for better surface quality.
Optimising File Exports
Preview STL files in the viewer tools before upload to detect jagged edges or gaps. Refinements at this stage avoid reprints and additional fees.
Mistake 4: Overlooking Feature Size Limitations
Features that are too small or too large can fail to print correctly. Tiny details may not be resolved in certain processes, while oversized parts risk warping or support-induced deformation. Services outline limits per method; SLS often handles finer details than FDM. Reviewing these constraints upfront is essential. Closed holes in prints frequently result from ignoring such limits.
Adapting Designs to Printing Technology
Match technology to feature requirements, such as resin printing for intricate work. In innovation hubs like Melbourne, a diverse range of options is available. Reliable services can advise on selections to optimise results.
Mistake 5: Failing to Account for Warpage and Shrinkage
Warpage occurs due to uneven cooling, particularly in larger prints or materials like ABS. Neglecting shrinkage allowances leads to distortions. Incorporate design features like ribs for stability or optimise build plate orientation. Services may recommend adjustments, but proactive design changes are preferable.
Strategies to Minimise Distortion
Enclosures help to reduce the risk of warping in materials, making them a practical choice, especially when using low-warp materials that are advisable for maintaining structural integrity. Prototyping small versions of designs allows for thorough testing and helps to minimise material waste during the development process.
Mistake 6: Neglecting Non-Manifold Geometry
Non-manifold geometry, such as open edges, intersecting faces, or disconnected parts, can lead to serious problems in 3D printing, including print failures, artifacts, or structural weaknesses. Many modelling software programs may not automatically detect these issues, making manual inspection and correction essential. Repair tools available in programs like Meshmixer or Blender can help identify and fix these problems to ensure a successful print.
Ensuring Model Integrity
Ensure thorough validation of models for watertightness prior to submission, utilising automated tools that efficiently perform these checks, thereby enhancing accuracy and saving valuable time in the process.
Mistake 7: Incorrect Surface Orientation
Flipped normals resulting from improper surface orientation can cause issues such as inside-out prints, especially when dealing with complex models. To prevent this, always verify that the normals are correctly pointing outward using CAD software. Proper normal orientation ensures accurate printing and prevents potential errors during the manufacturing process.
Proper Orientation Techniques
When planning your project, carefully consider the build direction to optimise the strength and overall finish quality of the final product, and make any necessary adjustments to ensure the best results.
Advanced Tips for Seamless 3D Printing
Have a look at these helpful tips to make your 3D printing process smooth and enjoyable:
- When designing supports for overhangs, carefully account for their placement to ensure adequate support while minimising their usage.
- This approach helps reduce the risk of damage when removing supports after printing.
- Plan for post-processing steps such as sanding or smoothing to improve the final surface quality and achieve the desired finish after support removal.
Collaborating with Service Providers
Effective partnerships involve sharing project end-use details. Providers can identify potential issues based on expertise. You can get in touch with CAD Deziners if you are searching for 3D Printed Exhibition Models & Displays in Australia. Contact us right now!
Final Thoughts
Addressing these common mistakes enhances the 3D printing experience, shifting it from problematic to reliable. Emphasis on preparation, material selection, and design precision yields consistent high-quality results. Learning from errors supports ongoing improvement.
If you’re in Australia and need expert help for a top-notch 3D printing service in Adelaide, get in touch with CAD Deziners to bring your ideas to life!

