Hurricane Shutter Installation: A Step-by-Step Guide and Safety Tips
Installing hurricane shutters is among the most reliable methods to safeguard your home against extreme weather conditions. Whether you live along the coast or in an area prone to high winds and storms, preparing in advance with proper hurricane shutters can prevent costly damage and ensure your family’s safety.
This blog offers a practical, step-by-step guide to help homeowners install hurricane shutters efficiently and safely.
Why hurricane shutter installation matters
Storms can escalate quickly, and if your windows are not reinforced, debris and wind can cause significant destruction. Proper installation of hurricane shutters acts as a frontline defence, minimising the chances of window breakage, water intrusion, and structural compromise. Whether you plan to do it yourself (DIY) or hire a contractor, understanding the steps involved helps you maintain quality and ensure safety.
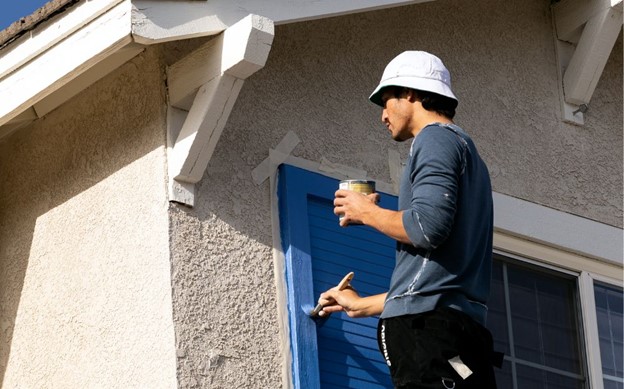
Guide to installing hurricane shutters
1. Measure your windows accurately
Start by measuring each window you plan to protect. Record both height and width, rounding up to ensure complete coverage. Inaccurate measurements can lead to poor fitting, reducing the effectiveness of your hurricane shutters.
2. Choose the right shutter type
There are several types of hurricane shutters available: accordion, roll-down, Bahama, colonial, and panel shutters. Each has its advantages depending on your home’s structure, budget, and how often you expect to deploy them.
3. Mark and drill the mounting holes
Using your window measurements and shutter specifications, mark where the anchors or tracks need to be installed. Use a level to verify that each component is precisely aligned and positioned evenly. Next, drill the holes using a masonry bit when mounting into concrete or brick surfaces.
4. Install the anchors or track system
Secure anchors or shutter tracks with corrosion-resistant bolts or screws. Make sure they are flush with the surface to prevent leaks or weak spots. Double-check the alignment before proceeding.
5. Attach and test the shutters
Once the anchors or tracks are secured, mount your hurricane shutters according to the manufacturer’s instructions. Open and close them a few times to ensure they function correctly. If they stick or wobble, adjust the fittings until everything is tight and aligned.
Safety Tips During Installation
- Wear safety gear: Always wear gloves, goggles, and ear protection while drilling or handling heavy shutters.
- Avoid electrical hazards: Be cautious when drilling into walls to prevent damage to wiring.
- Work with a partner: For large shutters or second-story windows, never work alone. Having someone to assist increases both safety and efficiency.
- Follow manufacturer guidelines: Each shutter type has specific installation requirements. Always refer to the instructions included with the product.
Secure your home with confidence
Installing hurricane shutters may seem intimidating, but with careful preparation and the right approach, it becomes a manageable and rewarding project. They not only protect your home but also enhance its overall value and curb appeal. When planning to buy exterior shutters, ensure you select tested and certified products that meet the wind-load standards for your region.
Anyone looking to protect their property should buy exterior shutters well before hurricane season begins to ensure timely installation and preparedness. A timely decision today can save you from severe headaches tomorrow. Invest in dependable hurricane shutters, follow the outlined steps carefully, and prioritize safety to safeguard what matters most.