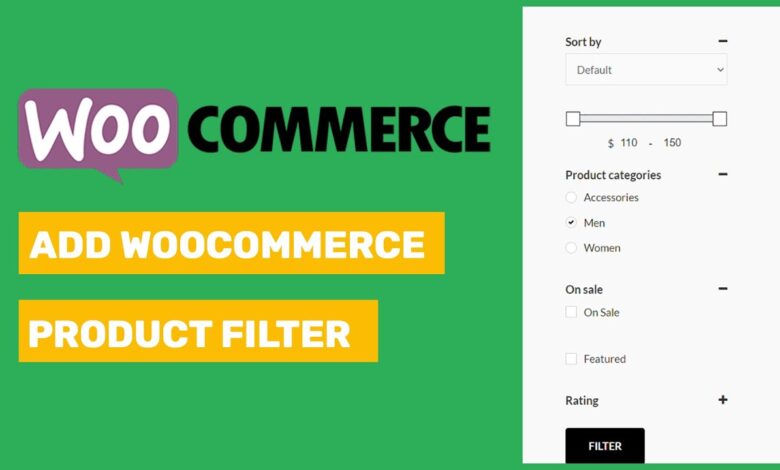
How to Add Product Filter in WooCommerce?
Running an online store means giving your customers the easiest and fastest way to find what they’re looking for. One of the best ways to do that is by adding product filters. These filters help shoppers narrow down choices based on things like size, color, price, or category. If you’re planning to add one but are not sure how to add product filter in WooCommerce, then you are in the right place.
To add a product filter in WooCommerce, install a filter plugin from WooCommerce.com or Plugincy.com. Create your filter, add filter options like size or color, set how they work, and place them on product pages using widgets. Be sure to test everything to keep the user experience smooth.
You can learn more about each step of the process as you continue reading below and set up the perfect filters for your store.
How to Add Product Filter in WooCommerce? (A Quick Process)
You can help your customers find exactly what they’re looking for by adding product filters to your WooCommerce store. When your store is equipped with the right filters, it becomes more user-friendly, improving the overall shopping experience for your customers. Here are the steps to set it up:
Step 1: Get the Plugin
The first thing you need to do is install a product filter plugin. You can buy and download one from WooCommerce.com or Plugincy.com. After you have the plugin file, go to your WooCommerce dashboard. Click on Plugins > Add New > Upload, then add your plugin file and install it. Once it’s installed, don’t forget to activate it so it works on your site.
Step 2: Make Your Filter
Now it’s time to create the actual filter. Start by giving your filter a name or title. Depending on your preference, the filter can be configured to work automatically or only when a button is clicked. You can also customize WooCommerce product filters with features like Ajax pagination and Ajax sorting, which help make your store faster when filters are used. These tools make sure customers don’t have to reload the whole page every time they apply a filter.
Step 3: Add Filter Options
Filters have different parts called elements. These elements are like mini-filters that help shoppers choose what they want, such as size, color, or price. You can create as many elements as you want, depending on your products. These elements show up on the left side of the plugin editing panel. Pick how you want them to look—maybe a list, a slider, or something else.
Step 4: Set How It Works
After choosing the look, decide how each element should behave. This means setting rules like which products show up when a filter is selected. You can choose products based on categories, tags, or custom features. You also decide how many items to show when a filter is used. This step is important because it controls how smart and helpful your filter will be.
Step 5: Show It On Your Site
Once your filter is ready, you need to display it. WooCommerce lets you add filter widgets to your product pages. These widgets are buttons or sections that shoppers can click on to use the filters. You can place them wherever they make the most sense, like on the sidebar or above the product list. Make sure they’re easy to find and use.
Step 6: Final Touches
Check the filter once to ensure it is working correctly. Try it out like a customer would—apply different filters and see what shows up. If something doesn’t look right or feels slow, go back and make small changes. A good filter helps people find products faster, which means they’ll be happier shopping on your site. Keep things simple and clean so it’s easy for everyone to use.
What’s the Best Way to Back Up Filter Settings Before You Change Them?
Before making any big changes to your WooCommerce filter settings, it’s smart to back them up. This way, if anything goes wrong, you won’t lose your hard work. Here are the best ways to do that safely and easily:
- Use a Backup Plugin: A trusted backup plugin saves your site settings, including filters, so nothing is lost during updates or changes later on.
- Export Plugin Settings: Many filter plugins let you export current settings as a file, which you can later import to restore everything quickly and easily.
- Create a Manual Copy: Write down key filter settings like layout, filter types, and categories, so you can reset them if something goes wrong later.
- Use Staging Site: A staging site is a test version of your store where you can try changes safely without affecting the live version’s filters.
- Take Screenshots: Taking clear screenshots of your filter setup gives you a quick visual reference when trying to restore or compare setting changes.
- Save Theme Settings: If your filters are styled by your theme, saving the theme settings ensures both look and function remain the same after edits.
- Enable Version History: Some plugins or page builders offer version history, letting you roll back to an earlier setup if new changes break anything important.
- Backup Database: Your filter settings are stored in your site’s database, so backing up the database keeps all settings safe before updating plugins.
Paid Plugins vs. Free Filter Plugins: Which is Better to Install?
When choosing between paid and free filter plugins for your WooCommerce store, it’s important to know what each one offers. Both types can help improve your store’s shopping experience, but they come with different features and limitations. Here is a quick comparison to help you decide which is best for your needs:
| Feature | Paid Plugins | Free Plugins |
| Features | Advanced features like Ajax filters, sliders, and multi-level filtering. | Basic filtering options like category, tag, and price. |
| Customization | High customization with flexible layouts and styling. | Limited customization options. |
| Support | Premium support with faster response times. | Community-based or no official support. |
| Updates | Regular updates with new features and security patches. | Fewer or delayed updates. |
| Compatibility | Better compatibility with themes and other premium plugins. | May face issues with some themes or plugins. |
| Speed Optimization | Often optimized for speed and performance. | It can slow down your store if not coded well. |
| User Experience | Smooth, professional interface for a better shopper experience. | Functional but might feel basic or clunky. |
| Scalability | Great for growing or large stores with many products. | Best for small stores with fewer items. |
| Cost | One-time or subscription fee. | Completely free to use. |
| Reliability | Built and tested by trusted developers. | Varies depending on the developer. |
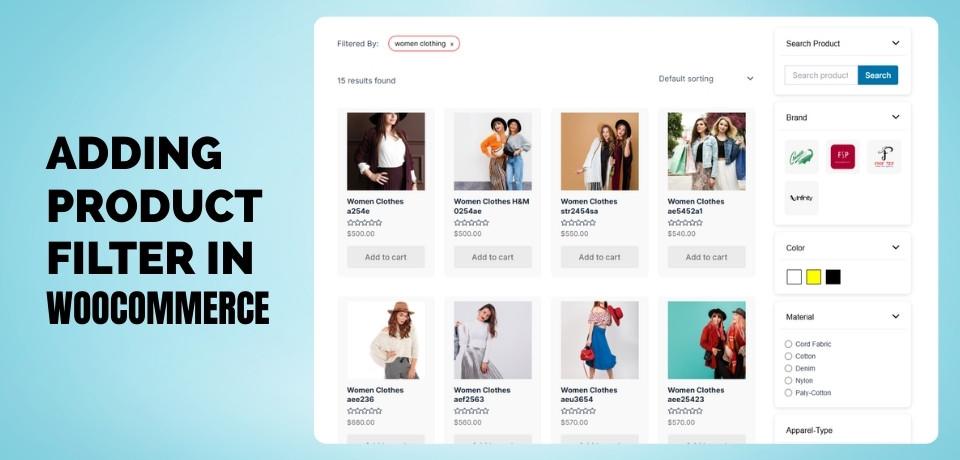
Where Should You Place Product Filters for Best Conversions?
Placing your product filters in the right spots on your WooCommerce site is important. It helps customers find products quickly, leading to more sales. Check out the following to learn where to put them for better results.
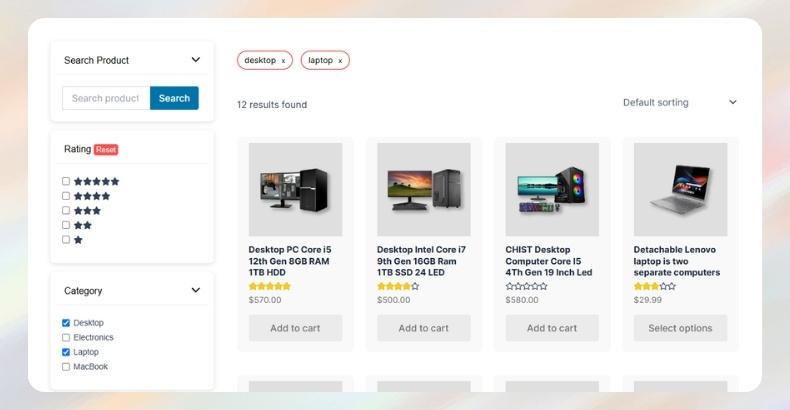
Sidebar Placement
The sidebar is one of the most common places to put product filters. It’s easy to see and doesn’t take up too much space. Shoppers can scroll through products while changing filters on the side. This setup works well on most screens, especially for desktops and laptops. Just make sure the filter list isn’t too long, or it might look messy.
Top of Product Page
Placing filters at the top of the product page makes them super easy to notice. People see them right away before even looking at the items. This is great when your store has lots of filter options like price, size, and brand. It helps customers make choices fast. Use dropdowns or sliders to save space if needed.
Sticky Filter Bar
A sticky filter bar stays in place while people scroll. It’s useful when there are many products on the page. Shoppers can keep adjusting the filters without having to scroll back up or down. This makes the shopping experience smoother and faster. It works best on desktops and tablets.
On Mobile Menu
For mobile users, filters work well inside a sliding menu or a pop-up. Since screen space is small, filters need to be tucked away but still easy to open. You can add a “Filter” button that opens the filter list. This keeps the page clean while still giving users full control. Always test it to make sure it’s easy to use.
Above Product Grid
Another smart place is right above the product grid. This lets users filter before they even start scrolling through products. It feels natural and saves time, especially when there are many choices. Try combining it with sorting options like “Price: Low to High.” Keep the design simple so it doesn’t block the view.
What to Do if Product Filters Aren’t Working?
Sometimes, WooCommerce product filters stop working without any apparent reason. It can be frustrating, but don’t worry since there are a few easy steps to take. Here’s how to fix the issue quickly and resume your normal operations:
Check Plugin Settings
You should start by checking the filter plugin settings in the dashboard. Sometimes, a setting gets turned off by mistake. Make sure all filter options are active and linked to the right product details. If something looks odd, reset it to the default. That usually helps solve small issues fast.
Clear Your Cache
Your website might be showing an old version of your page. Try clearing your site cache and browser cache. After doing this, check your filters again to see if they work. Caching tools often hold onto outdated data. A quick refresh can fix the problem.
Update the Plugin
Old versions of plugins can cause bugs and stop working properly. Go to your plugins list and see if there’s an update. If yes, click update and wait for it to finish. Updates often fix broken features. Don’t forget to refresh the page afterward.
Test for Conflicts
Sometimes, another plugin or your theme may cause problems with your filters. Try turning off other plugins one by one. After each one, test your filter again. If it starts working, you’ve found the troublemaker. You can then contact the plugin’s support for help.
Rebuild the Filter
If nothing helps, try deleting and re-creating your filter from scratch. This might sound like extra work, but it can be a clean fix. Make sure to copy the old settings before you remove anything. Then, build the same filter again with fresh settings. It often works better than trying to fix a broken one.
Use a Staging Site
Before making big changes, try fixing things on a staging site. It’s a copy of your website used for testing. You can safely try updates or changes without breaking your main store. Once it works on staging, repeat the fix on your live site. This keeps your shop safe while you troubleshoot.
Final Thoughts
Your customers will enjoy shopping more when you add product filters to your WooCommerce store. By following the steps of installing a filter plugin, creating your filter, and placing it strategically on your site, you can make it easier for shoppers to find what they need.
By learning how to add product filter in WooCommerce, you can ensure that your store remains user-friendly and efficient. It is also a good idea to back up your settings and test your filters regularly to ensure everything is running smoothly.
Don’t forget to choose the right plugin, whether paid or free, based on your store’s needs. If a website has been set up and maintained in the right way, you can increase conversions and customer satisfaction substantially.